
What the demo shows
Choose who stays visible. Decide how everyone else is hidden.
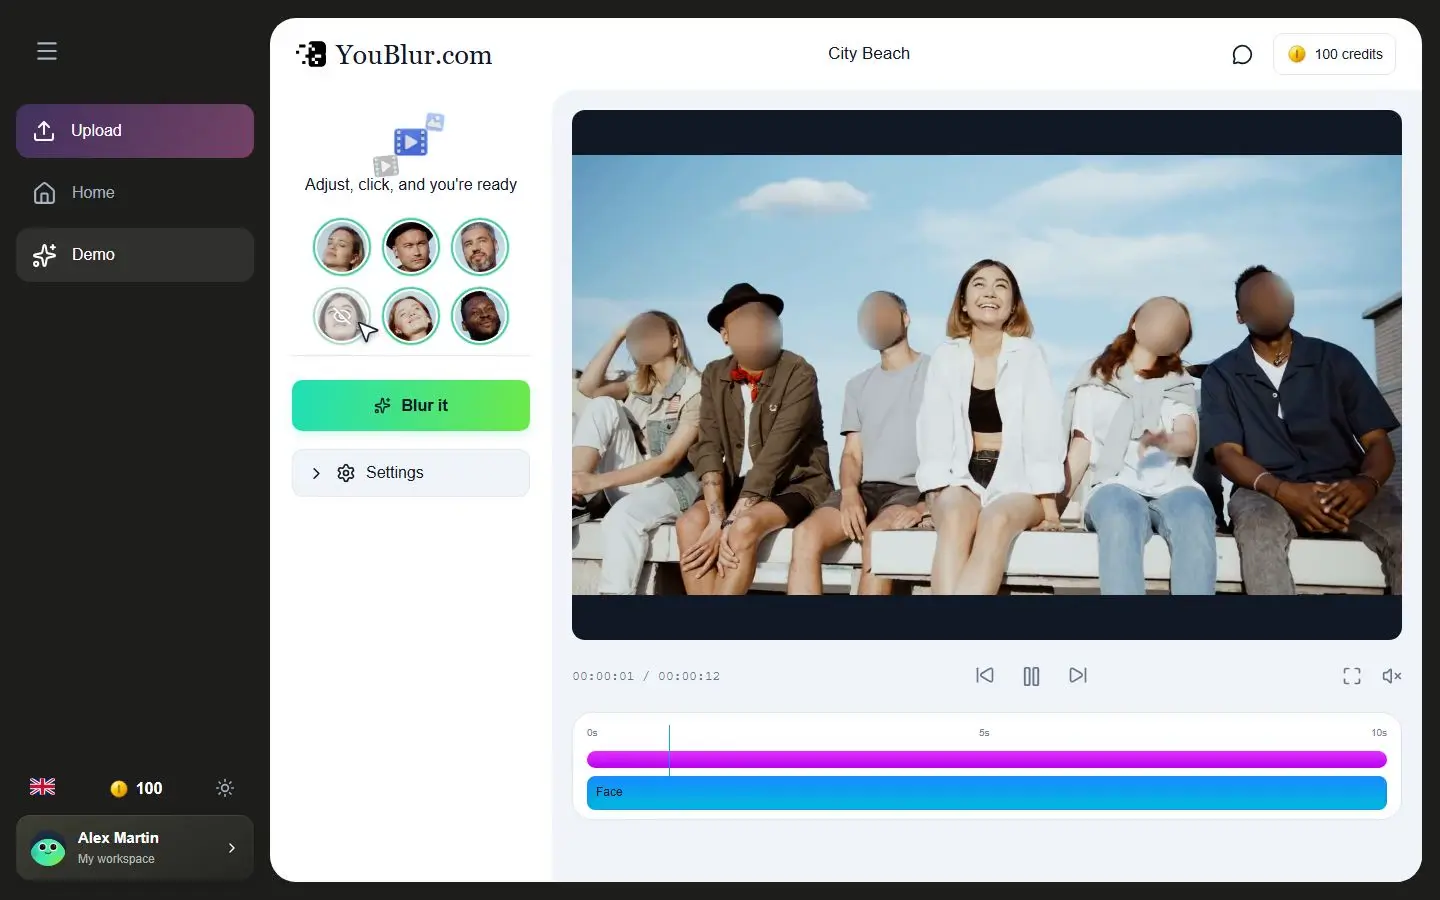

One scene. Different masking styles.
The demo switches between blur, emoji masks and pixelation. Detected face thumbnails let you choose which people to hide while checking the result in the preview.
Watch the controls in action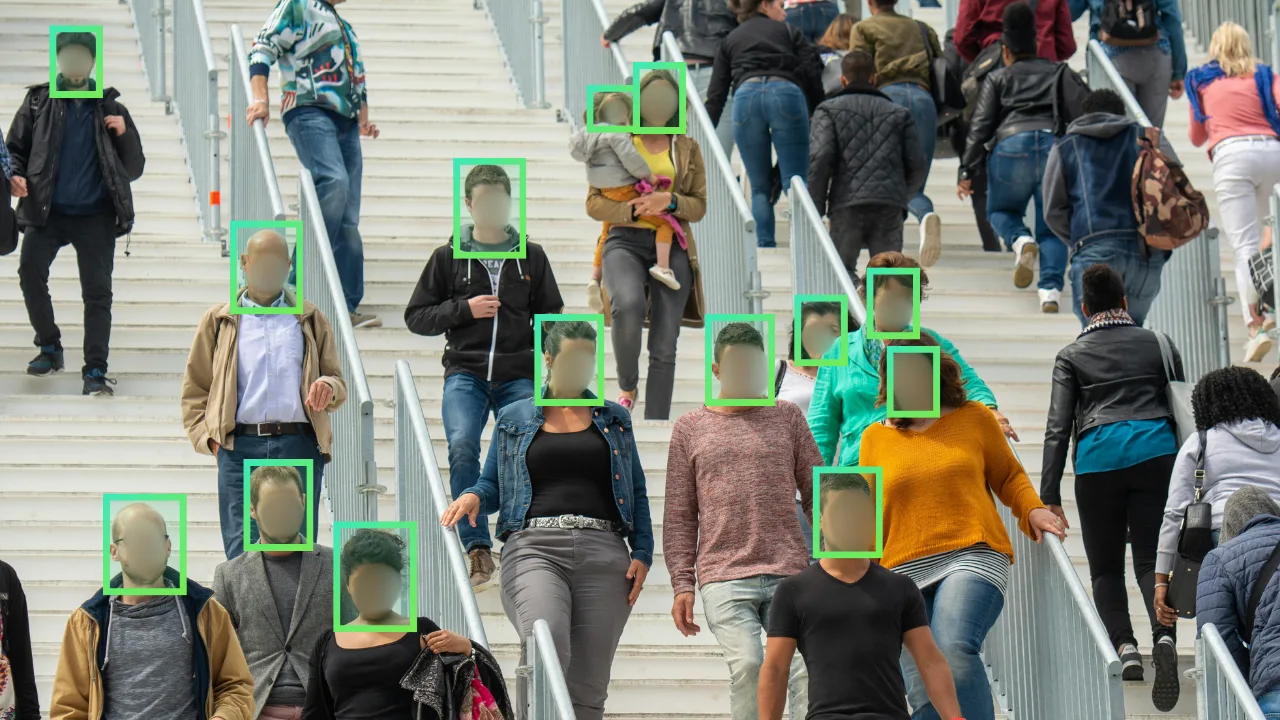

Keep the scene. Protect identities.
Face masking keeps the surrounding footage visible. This separate example shows the effect on a crowded scene. Always review the whole clip before sharing.
The video demonstrates the editor’s masking controls. The upload and export steps below explain how to use them with your own footage.
Try it with your own video
Upload your video
Open YouBlur Studio in your browser and import the clip you want to edit.
Choose faces and a masking style
Use automatic face detection to find faces, select the people to hide and choose blur, pixelation or an emoji mask.
Review the tracking before you export
Play through the entire clip. Check fast movement, faces turning sideways, and people entering or leaving the frame. Adjust the result where needed before exporting.
Check the details before sharing
Automatic tracking helps with moving faces, but review is still important. A face can be missed when it is small, partly hidden or poorly lit. Also check for identifying information outside faces, such as names, signs or license plates.
YouBlur uses credits for processing. See the current credit packs before starting a larger project, or explore the face blur tool for more details.